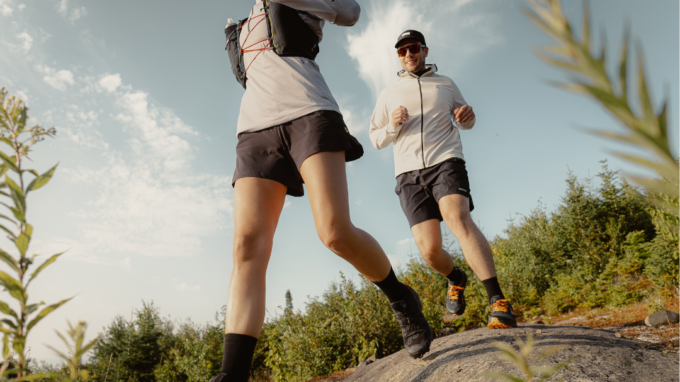
The Best Trail Running Shoes of 2026
Trail running | June 17, 2026
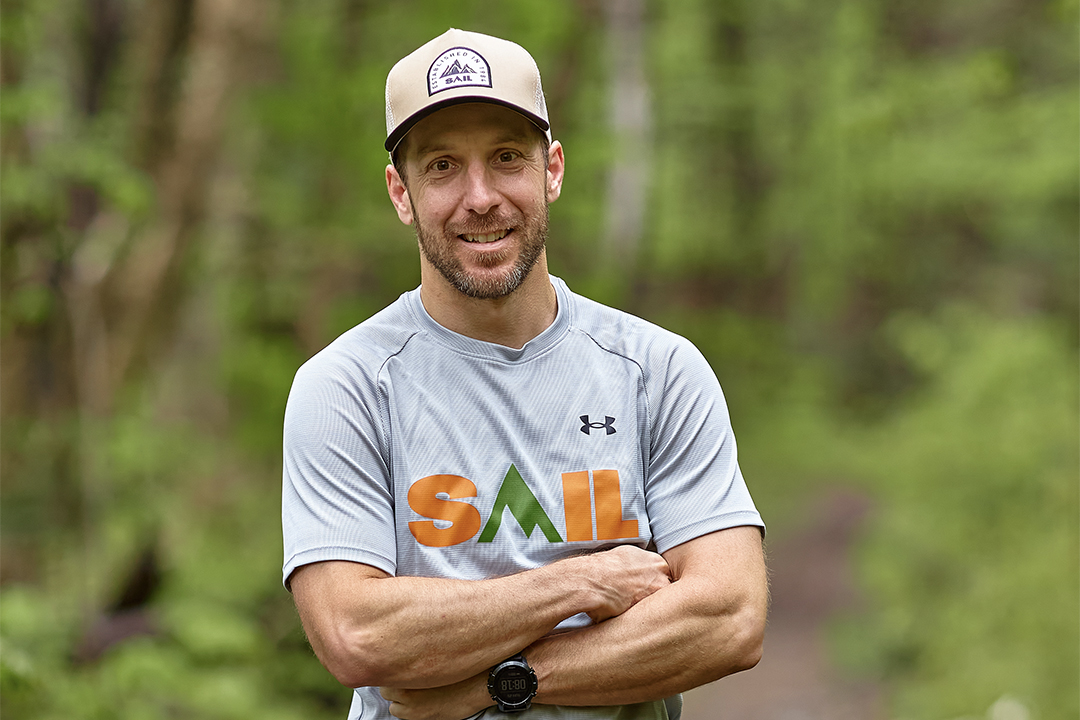
SAIL
June 17, 2025
Share


In this article, David Lacombe shares his tips on preparing for your first triathlon like a pro, so you can successfully rise to the challenge.
Between training, gear, nutrition and physical preparation, it can be hard to know where to begin. Here, you will find practical tips to help you prepare effectively and approach every step of your first triathlon with confidence. Whether your goal is simply to cross the finish line or to perform at your very best, these tips will help make your experience more motivating, structured and rewarding.
In this article, you will learn how to prepare for a triathlon:
Tapering is a key step in preparing for a triathlon. It allows your body to recover from weeks of training and absorb all the work you’ve put in. This phase is all about overcompensation: the body adapts to training stress and increases its performance capacity for race day. At this stage, the goal isn’t to make further progress in training but to allow your body to rest while maintaining its condition.
The right timing for tapering depends on the type of race. It typically begins one and a half to two weeks before race day for long-distance events (half Ironman or longer). For sprint or Olympic distances, a period of five to seven days is usually enough.
There are two main pillars of tapering: reducing volume (by up to 60%, depending on distance and fatigue) and maintaining intensity. It’s also essential to support recovery by getting adequate sleep, eating well, and maintaining a balanced, healthy lifestyle. The most important thing at this stage is to avoid trying to make last-minute gains.
It’s normal to feel a bit unwell at first: the body is still tired from previous weeks, and the sudden change (less volume and more rest) can cause unpleasant sensations. That said, if you taper properly, you should feel very good during the last two or three days before the race. It’s better to show up to race day 110% rested than 90% tired.
To ensure fluid and effective T1 and T2 transitions, it’s essential to practise them ahead of time in conditions similar to those of the race. Without adequate preparation, these transitions can indeed eat up precious minutes on race day.
When your hand hits the ground, stand up and exit the water. Start unzipping your wetsuit as soon as you’re out. When the suit hangs at your waist, remove your goggles and swim cap, and hold them in your hands as you run.
When you reach your bike (or transition bag, depending on the event), remove the bottom part of the wetsuit. Put down your equipment and start by putting on your bike helmet. Next, put on your bike shoes — unless they’re already on the bike, if regulations allow. Grab your essentials (nutrition, clothing, etc.), then leave with the bike at your side. Finally, get on your bike as soon as you pass the mount line.
Depending on your habits and preferences, you can take your feet out of your bike shoes before reaching the dismount line and keep pedalling with your feet resting on the shoes (provided you have practised this technique before). Get off the bike before the dismount line, then head to your spot and place it back on the rack.
Remove your helmet and shoes if you haven’t already, then put on your socks and running shoes, making sure they suit your needs and running style.
Finally, clip on your race belt, grab your essentials (sunglasses, nutrition, etc.) and exit the transition area to start running.
Testing your gear before race day helps prevent any unpleasant surprises. Every element needs to be just right: clothing, sunglasses, bike, etc. A checklist is a great way to make sure nothing gets overlooked, so you can head into the race with peace of mind.
Be sure to install stretch laces on your shoes and break in your running shoes if they’re new to help prevent blisters. Use the wetsuit several times before the race to make sure it’s comfortable and fits well. If your swimming goggles are new, try them on and adjust them ahead of time.
As for the bike, check that it’s in good working order and free of mechanical issues. Check the wear on your cleats if you’re using clipless pedals, and perform a full inspection, including tightening all screws.
Open-water swimming is very different from pool swimming: it’s more demanding, offers less rest, and can be stressful. That’s why it’s crucial to get familiar with it before race day, especially if you have never swum in a wetsuit before.
Your first experience in open water can be challenging: a sense of emptiness, lack of visual markers like pool lines, tightness of the wetsuit around the neck, and feelings of insecurity are all common. This discomfort is normal and usually fades after a few sessions.
To feel more at ease, it’s recommended to swim with a partner and use a safety buoy for visibility. It’s also important to practise using fixed landmarks like a tree or a house to follow a course, as well as swimming in a straight line, since open water offers very few directional clues.
Nutrition plays a key role in your triathlon performance, especially for races lasting longer than 90 minutes. With the right strategy, you can maximize your energy reserves and avoid sudden fatigue and digestive issues.
The goal of carb-loading is to maximize glycogen stores in the muscles and liver. It is especially beneficial for long-duration races. This phase usually begins about 48 hours before the race, with a gradual increase in carbohydrate intake. It’s also recommended to reduce fibre consumption during this period to help minimize digestive discomfort.
It’s important to have a plan for carbohydrate intake during the event, suited to the duration and intensity of your effort. Regardless of the distance, it’s recommended to consume a small amount of carbs (such as a gel) about 10 to 15 minutes before the start. After that, carb intake depends on the distance: for a sprint, one gel during T1 or at the start of the bike course is usually sufficient, while for Olympic distances and longer, you will need to refuel more regularly throughout the bike and run segments.
The outside temperature also impacts your nutritional needs. In hot weather, it’s important to increase hydration and prioritize liquid forms of carbs, which are easier to digest. In cold conditions, your energy needs may rise as your body works harder to maintain its temperature. It’s also common to feel less thirsty, but it remains essential to drink enough, especially when consuming a high amount of carbohydrates.
Lastly, Canadian elite triathlete David Lacombe shares his final advice and pro tips for a successful triathlon:
Share