The Best Women’s Winter Boots From 8 Top Outdoor Brands
Winter Boots | October 28, 2026
SAIL
November 4, 2026
Share


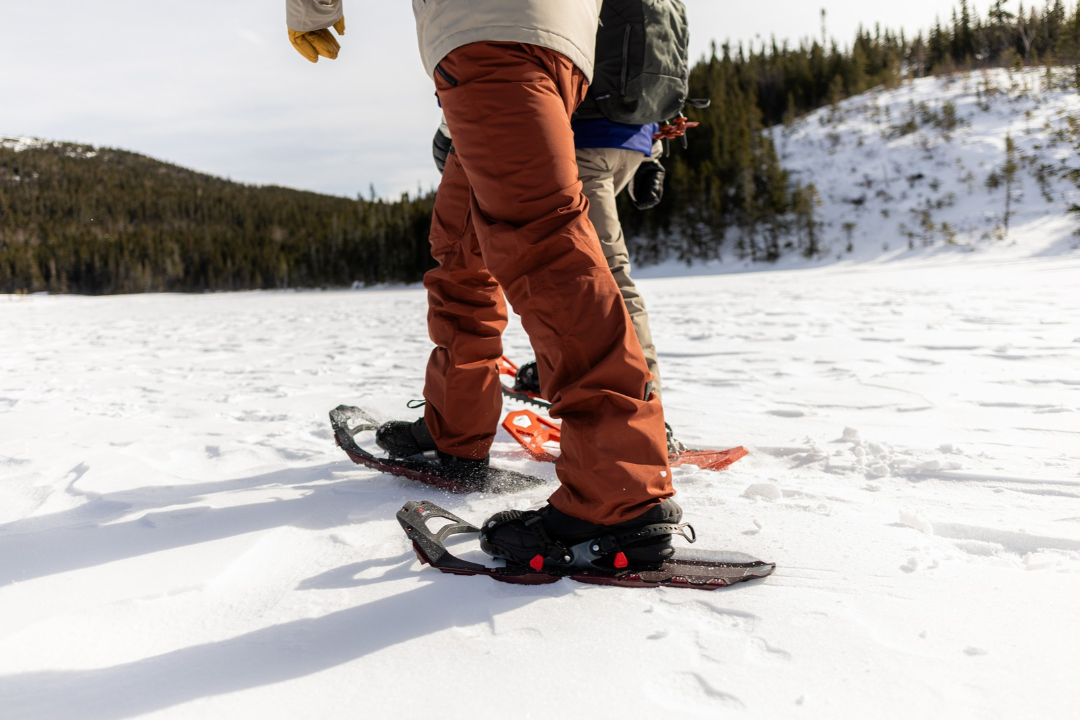
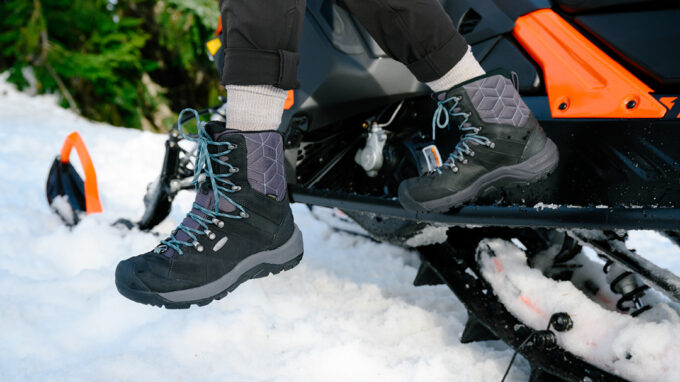
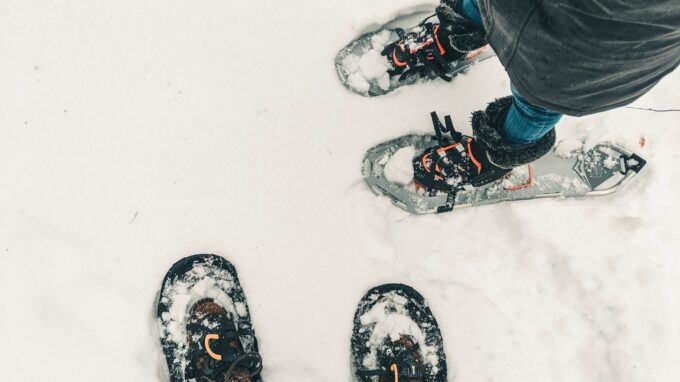
On snowshoes, your feet are often the first to call it quits. And it’s rarely for lack of insulation. Quite the opposite: most people wear boots that are too warm. Feet sweat, moisture builds up, and the cold sets in. The other trap? City boots. Their materials, support and fit were never designed for snowy trails.
So, what kind of boots should you wear for snowshoeing? First off, you’ll want a model suited to your activity level. It should also let moisture escape, stay secure in your bindings and fit your feet properly. Here are five criteria to consider to find the right pair for your outings.
In this article, you will learn the criteria to consider when choosing snowshoeing boots:
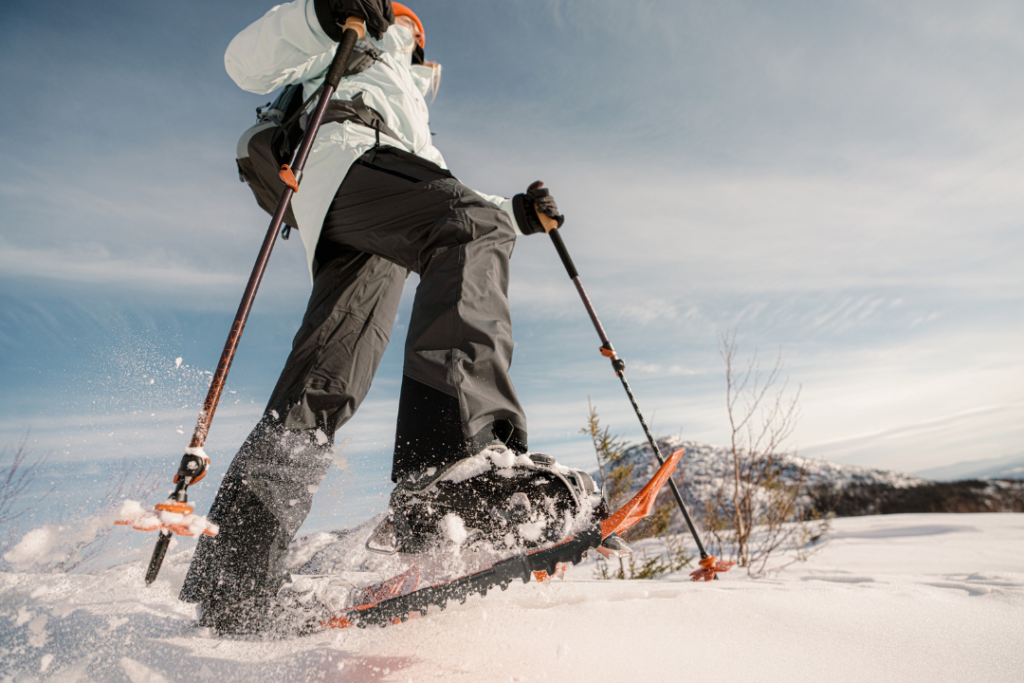
A snowshoeing boot’s warmth comes down to its insulation, usually indicated in grams. But how much you need depends more on what you’re doing than on what the thermometer says. The rule is simple: the more you move, the less insulation you need. Effort keeps you warm. Sweat is what chills you.
The label gives you two key details: the type of insulation (Thinsulate, PrimaLoft, felt or wool lining) and its density, expressed in grams.
What that number won’t tell you is how many degrees of warmth you gain. It shows how much one square metre of insulation weighs. The higher it is, the warmer the boot. That said, two 400 g boots can perform differently if they use different insulation.
Here’s what to look for based on your type of outing.
| Insulation | Activity |
| 200 to 400 g | High-intensity snowshoeing, brisk hikes, long distances |
| 400 to 600 g | Recreational snowshoeing, family outings, easy pace with stops |
| 600 to 800 g | Snowshoeing in extreme cold, -25 °C (-13 °F) and colder, outings with long breaks |
| 800 g and up | Ice fishing, snowmobiling, stand hunting and other low-activity pursuits |
What about temperature ratings? The ones some brands display (-32 °C, for example) are set in a lab, and testing methods vary from one brand to the next. They are most useful for comparing two models in the same lineup. Ratings or grams, these numbers are just guidelines: everyone feels the cold differently. For the full rundown on insulation types, check out our tips for choosing the right winter boots.
Cold feet in your snowshoeing boots? They might be too warm. A sweaty foot in an over-insulated boot chills faster at the first break than a dry foot in a lighter boot. You tackle a climb, you heat up, you sweat. Then you stop at the top, and the wind does the rest.
The test is simple: if you’re too warm in the first 15 minutes on the trail, your boots have too much insulation for your pace. Go for lighter insulation and good wool socks instead. They’re easy to adjust from one outing to the next.
In winter, moisture comes at you from two sides:
Most people focus on the first, but it’s the second that ruins most snowshoe outings.
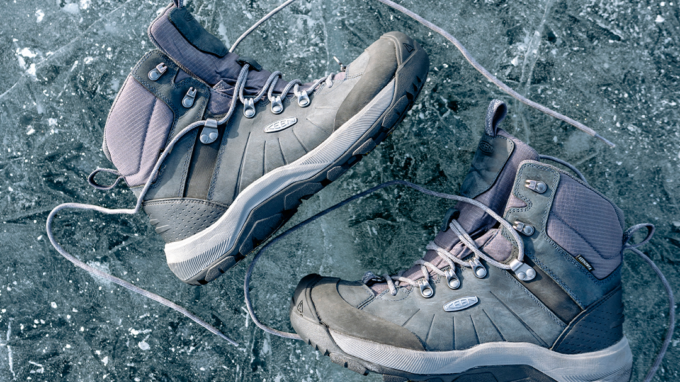
A boot’s waterproofing starts with its materials. Rubber, typical of classic winter boots, keeps water out every time, but it doesn’t breathe: on snowshoes, sweat stays trapped inside. Go for a treated leather or textile upper lined with a waterproof-breathable membrane like GORE-TEX. It blocks outside moisture while letting perspiration escape as vapour. As for leather, it is naturally water-resistant, as long as you treat it regularly with a waterproofing product.
Next up: construction. Even the best material lets water in if it’s poorly put together. Look out for these three things when choosing your next pair of boots:
The real test isn’t January’s dry cold. It’s the slushy snow of March and April. That’s when water finds every weak spot: the lace eyelets, the seam where the upper meets the sole, and the toe, which sinks into the snow with every step (that’s where a rubber toe cap really pays off).
How often should you waterproof your winter boots? One treatment at the start of the season is usually not enough. Reapply as soon as water stops beading on the surface, and after any exposure to road salt or de-icers. Choose shoe care products suited to your boots’ materials and how you use them. You will find a great selection online and in store, and staff are always happy to help.
To keep moisture from building up, you need breathable boots. But your boots only do half the job: your socks do the rest. Even the best membrane can’t compete with a soggy cotton sock.
Cotton soaks up sweat, holds on to it and loses all its insulating power once wet. If cotton socks get wet on a snowshoeing outing, they simply won’t dry. Choose winter socks made from merino wool or a wool-synthetic blend instead. These socks wick moisture away and stay warm even when damp. For snowshoeing, go for a midweight sock: warmer than your summer socks, but not so thick that it crowds your boots.
A common mistake is doubling up on socks to stay warmer. In reality, your feet get squeezed, circulation slows, and you end up even colder. One good pair that fits well is all you need. For longer outings, pack a spare pair and swap halfway through.
Lastly, pull out the insoles (and the liners, if they’re removable) after every snowshoe outing to allow the inside of your boots to dry completely. It’s a great habit to get into when you’re heading out several days in a row.
Do you need gaiters for snowshoeing? As soon as you leave packed trails, yes. Gaiters cover the top of your boots and keep snow from getting inside. The result: your socks and pant cuffs stay dry, even in deep powder.
On a groomed trail, low gaiters do the trick. In deep snow or off-trail, go for taller gaiters that reach below the knee. Choose waterproof or water-resistant ones with a velcro closure that’s easy to handle with gloves on. Also, make sure your gaiters fit easily over your boots, especially if they are insulated.
To move through deep snow without wearing yourself out, check out the tips in Snowshoes: techniques and walking tips.
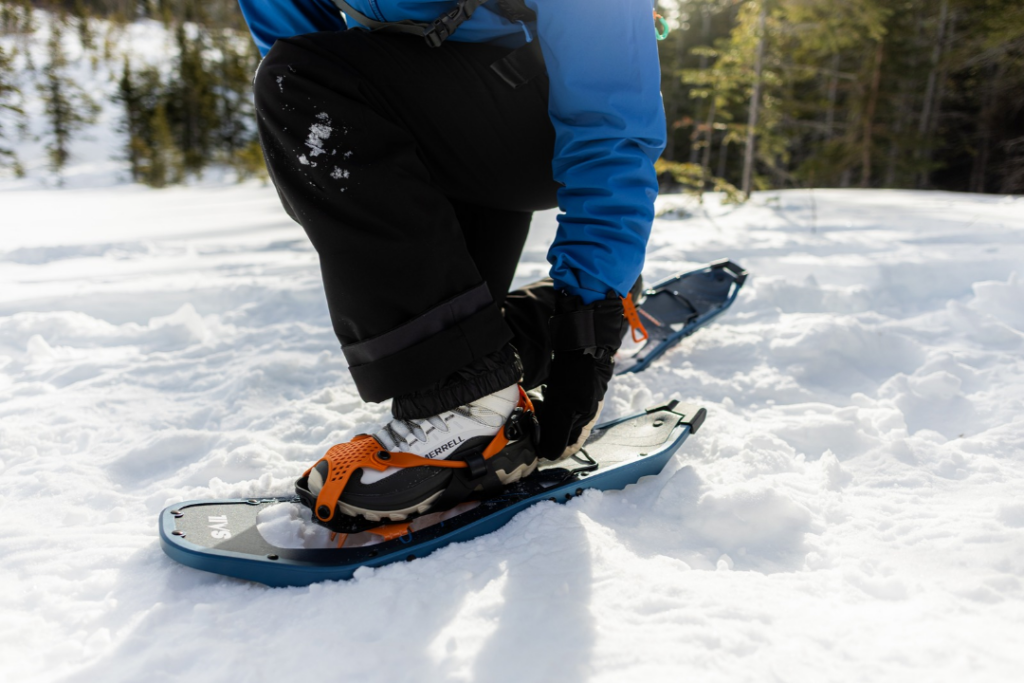
This is the one people forget about… until their first outing. Yet it’s what sets a regular winter boot apart from a true snowshoeing boot.
Go for a boot that rises above your ankle and clears your snowshoe binding. With a low-cut boot, snow can slip in when you step off the trail, in a heavy snowfall or when a snow-covered branch overhead dumps its load on your feet.
Here’s an easy rule of thumb: the upper should reach at least as high as the highest point of your snowshoe’s heel strap.
Keep in mind that a taller upper means better protection, but less ankle flex on the climbs. Some high-cut boots stay flexible, though, so try a few models in the store before you decide. Prefer a lower cut? Add a pair of gaiters to make up the difference.
Trails are never perfectly even. Snowshoes make it easier to get around in the snow and are gentler on your joints than walking, but your feet still require solid support.
The real risk isn’t the snowshoe itself. It’s a poorly adjusted binding, or snow building up under your foot and making it shift with every step, which can cause friction and blisters. Make sure your boots are laced up tight and stay firmly in place when you strap on your snowshoes.
Also go for a stiff or semi-stiff upper when picking your boots. This will help reduce fatigue on long outings and lower the risk of injury or discomfort.
Good news: snowshoe bindings work with most winter boots and hiking boots. Still, make sure you check out these three things before purchasing:
Not all binding systems work equally well with every boot:
For the full rundown on each system, read How to choose the right snowshoes.
When shopping for snowshoeing boots, it’s best to try them on in store with the socks you plan to wear on your outings. Also check that the boots’ volume, stiffness and fastener placement work with your snowshoe bindings.
In Quebec and Ontario, a single snowshoeing outing can take you across a variety of surfaces: powder, packed snow, ice, frozen trails, de-iced parking lots… So your boots’ outsoles need to perform well with and without snowshoes. Here are two things to pay attention to when picking your next pair:
The tricky part often comes at the very end of your outing, when you take off your snowshoes and have to walk across an icy surface. That’s when slips and falls can happen, and that’s why a warm winter boot isn’t enough; you also need an outsole that grips.
When walking on ice without snowshoes, removable ice cleats are the way to go. Look for the type that suits your needs: some are designed for urban walking, others for trails, and some for more technical use. Also check that they are compatible with your boots’ outsoles.
Not sure what to strap on for your winter hikes? Check out our article on how to choose between snowshoes and ice cleats to make the right call.
A poorly fitting boot makes the first four criteria practically useless. Fit isn’t a minor detail: it’s the foundation of a great snowshoe outing.
Start by making sure you get the right size. A little wiggle room beats a boot that’s too tight. No matter how well insulated they are, tight boots will leave you with cold feet because they restrict circulation. If your toes go numb 20 minutes after you put your boots on, or your feet stay cold even when you’re active, your boots probably don’t fit properly.
As a general rule, go half a size up from your summer shoes to leave enough room for your winter socks. Try on the boots later in the day, when your feet are slightly swollen, and wear the socks you will use for your outdoor activities.
Think about the width of your boots too. When your forefoot feels cramped, it’s tempting to go up a size. But if the length is right, look for a wider model or a boot with a different shape instead.
Once you think you’ve found the right pair, put them to the test. Tie the boots up snugly, stand on your tiptoes, then take a few steps to test the flex at the forefoot. Your toes shouldn’t feel pinched when the boots flex, and your heels should stay locked in place. Heel lift is the main cause of blisters when snowshoeing. On climbs, heels rub with every step, and after a few kilometres, a blister is guaranteed.
A quick note on foot shape. Foot shape varies considerably from person to person, including between women and men. Volume and width differ across winter boot lines, and unisex models may not work for everyone because they don’t account for certain anatomical differences. The solution? Try on several pairs. To find a variety of options, check out our lists of the best winter boots for women and the best winter boots for men.
When shopping for kids’ winter boots, resist the temptation to size up so they still fit next year. Boots that are too big are less comfortable, less stable and less warm.
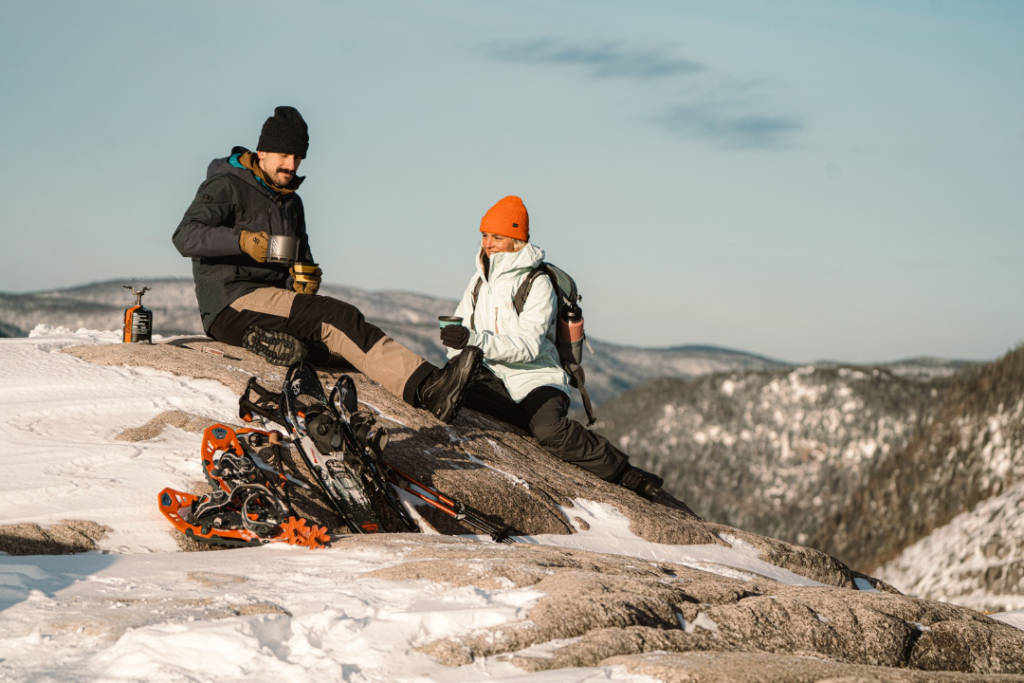
Once you’ve found the right snowshoeing boots, add these essentials to your kit to keep your feet dry and maximize comfort:
Planning an outing that will last several hours? Get the full gear rundown in Long winter hike: how to properly prepare and equip yourself.
The best pair of boots for snowshoeing isn’t the warmest one in the store. It’s the one that has the right insulation for your pace, lets sweat escape, stays secure in your bindings, grips the ground with and without snowshoes and fits your feet properly. You can check all five criteria in a single visit. Stop by the store with the socks you’ll wear on the trail, and a SAIL associate will help you find the model that will keep you exploring for longer.
Share