Best Hiking Boots of 2026
Hiking boots and shoes | June 23, 2026
SAIL
March 19, 2021
Share


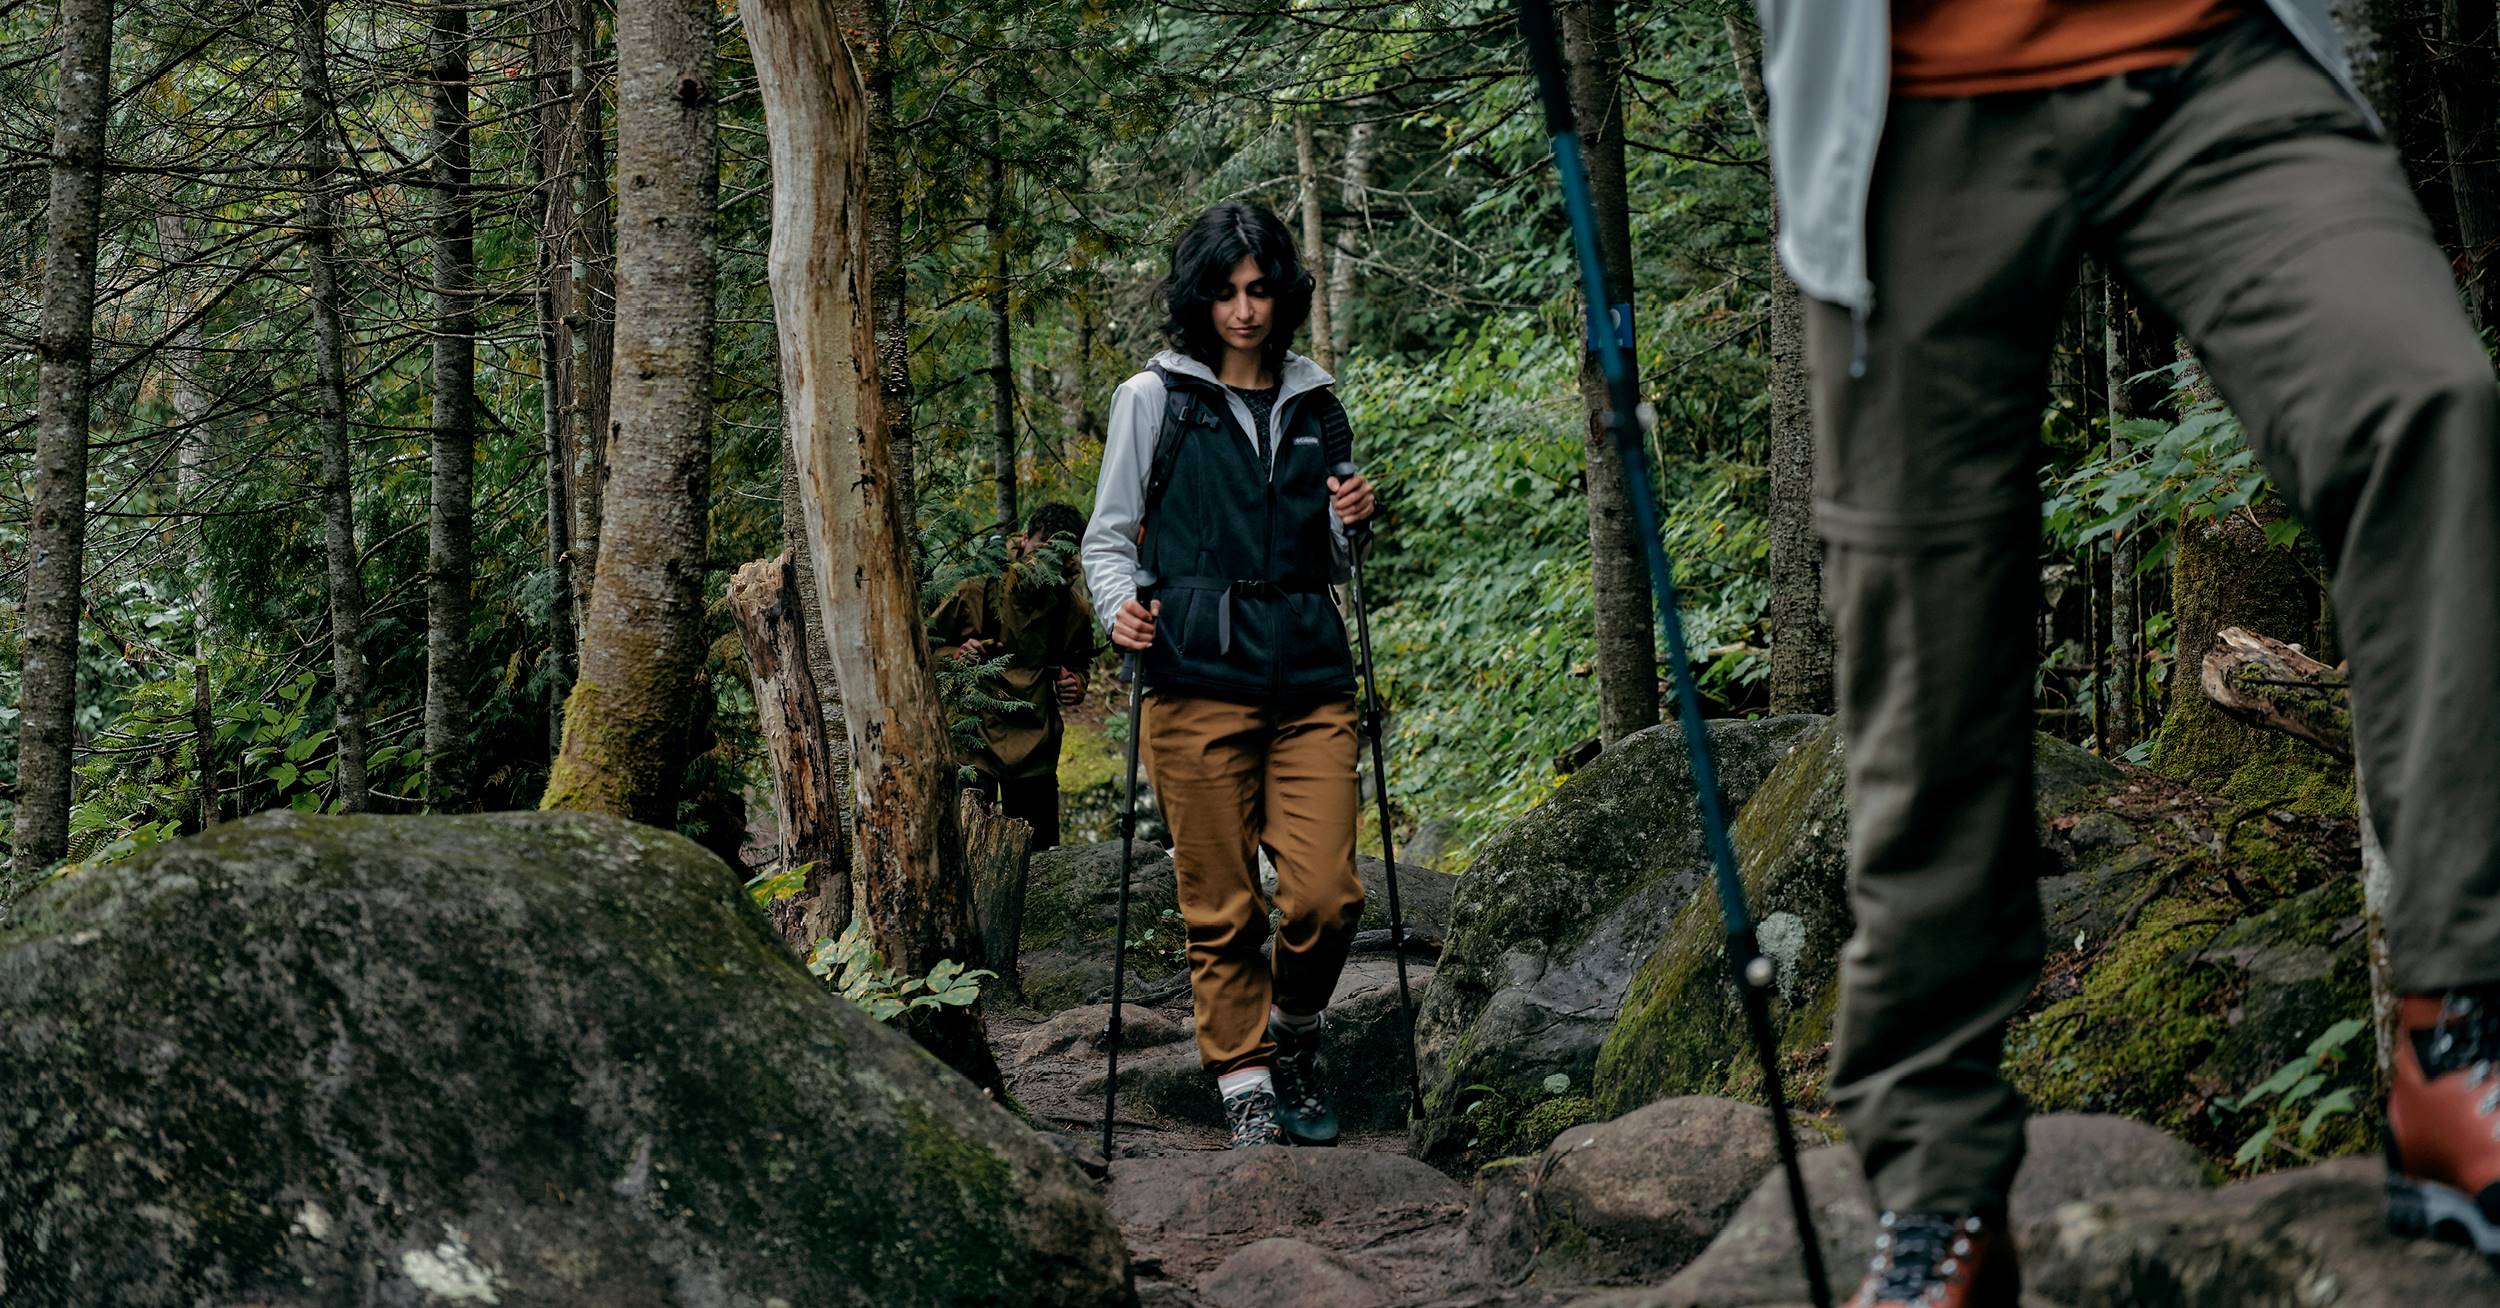
Trekking the trails, reaching high peaks, seeing nature up close, diving into exploration…is what hiking is all about. It’s not just a plain and simple walk outside. Follow these steps in order to maintain your hiking boots and shoes properly so that you can extend the adventure for many years to come.
Check out our Hiking Guide to discover more tips about this popular activity that can be done both in summer and winter.
Once you get back to the campsite, cottage, your car, or your home, remove your hiking boots. Slide on a pair of sandals or comfortable sneakers to allow your feet to breathe and rest a bit.
Use a brush with firm bristles made of nylon of horsehair, but avoid brushes with bristles made of steel or other metal.
Gently brush your hiking shoes or boots to remove mud, dirt, and small stones. Using an old toothbrush to get into those corners is helpful, or to brush the seam near the sole of your shoe. If the sole is full of dried mud, place your boots in a bit of warm water, making sure that only the outer soles are submerged.
As the old saying goes, “Slow and steady wins the race”. This is also true for your hiking boots or shoes. Once you’ve removed them from your feet, place them in a dry, well-ventilated area where it isn’t too cold or too hot. If you wish, you can put them near a fan. If possible, take the time to untie the laces and remove the insole for more efficient drying.
Remember, don’t try to speed up the necessary drying time by putting your footwear under the blazing sun or near a fire, as too much heat could alter the material of the shoes. Direct heat could damage your hiking boots to the point where they may no longer be covered under the manufacturer’s warranty.
Use a mixture of either water and dish soap, water and vinegar, or a mild soap specially made for hiking shoes and boots. This allows for odour removal from your footwear and for a good wash that will preserve their water resistance and breathability.
If your hiking boots are still waterproof, allow them to dry completely after cleaning before using them again.
Otherwise, if your shoes or hiking boots have started taking in water, it is recommended to apply a new treatment. There are several Durable Water Repellent (DWR) treatments available. Certain brands, such as Blundstone, offer treatments made especially for their shoes.
When applying:

