Best Hiking Boots of 2026
Hiking boots and shoes | June 23, 2026
SAIL
March 26, 2024
Share


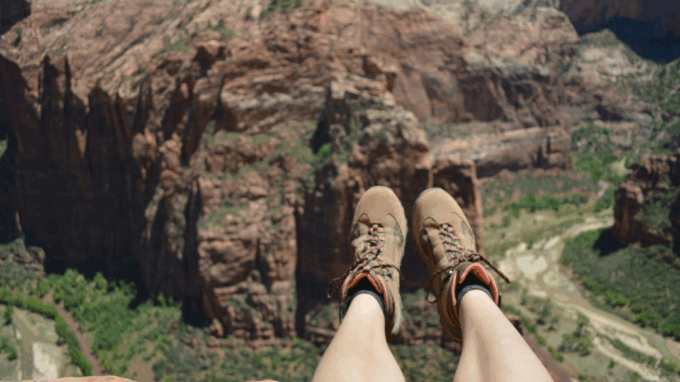
Imagine this: keen to give your brand-new and shiny hiking boots a whirl, you put them on just before a big hike, only to get blisters a few kilometres in. Of course, blisters are just part of the deal for hikers, and they can happen even when sporting a well-worn pair of boots. But new boots blisters? These are definitely avoidable, and breaking in your hiking boots should be an essential part of your pre-hike ritual. Here’s how to break in your hiking boots.
In this article, you will discover:
When it comes to breaking in your hiking boots, there are no shortcuts. You’ll have to put the effort in and just wear them a lot. Mesh hiking boots can be broken in more quickly and some may even feel comfortable as soon as you take them out of the box, while stiffer leather boots will require several weeks to break in.
Start by putting your boots on and walking around the house. Consider this your free test drive. Notice if they rub, are too stiff or uncomfortable. At this point, you can still bring your boots back to the store, so do pay attention to how your feet feel before wearing them outside.
Also, make sure you sit down regularly. Hikers spend all day on their feet, and blood vessels in your feet will expand to allow for an increased blood flow. As you sit down to rest and admire the view, your feet may swell. You’ll want to test how your boots feel in this particular scenario by walking around for a while and sitting down to take a break.
Once you’re confident you’ve found your perfect match, it’s time to take them outside. Run various errands, mow the lawn, or walk around the block. Notice how your hiking boots feel on concrete, on grass, and on any other type of terrains. Make adjustments if needed.
For tips on choosing between hiking boots or hiking shoes, read our blog article.
At this point, you’re ready to tackle shorter walks. Lace up your new boots and head out on a 4 or 5 km hike. Take on rougher trails or more rugged terrain, and don’t hesitate to get your hiking boots wet to test their performance in rainy or muddy conditions. However, it’s important not to get your boots sopping wet as moisture causes blisters. What you want is to make sure they can handle rain, or walking through a shallow creek.
You’ll also need to add some weight to fully break in your hiking boots. Start with a day pack, then gradually increase its total weight. Work up to the weight you’ll be carrying on your back on your biggest hike.
If your boots still feel comfortable and there are no blisters in sight, it’s time to head for the hills! Go on an easy or moderate day hike, and pay attention to how your feet feel during your outing so you can make a few tweaks.
Discover the top 10 hiking boot brands of 2023 in our blog article. If you prefer to hike in winter to avoid the crowds (and the bugs!), find out which ones are the best winter hiking boots.
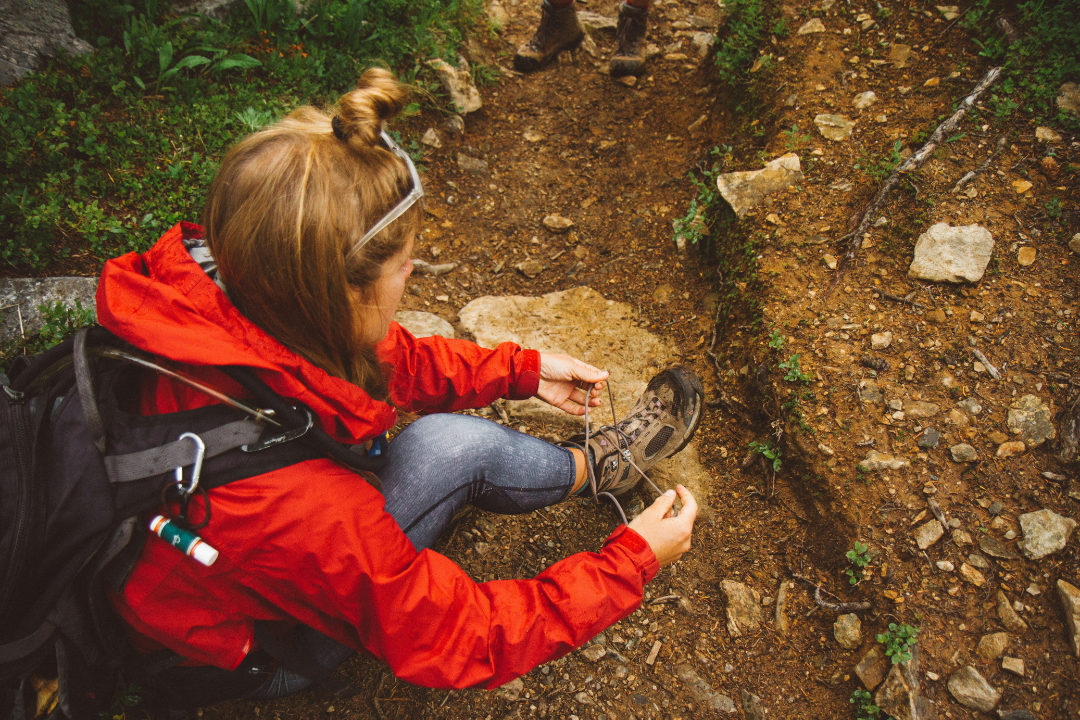
Blister and painful pressure points can quickly ruin what would have otherwise been a magical hike. There are several ways to lace up your hiking boots so your feet feel snug as a bug. Listen to what your feet are telling you, and adapt your lacing up technique accordingly.
As mentioned, the only way to break in your hiking boots is to put the effort in. However, there are a few things you can do to ensure your feet remain comfortable throughout your outdoor adventure.
Our top tip? Wear the right socks. You’ll want to avoid cotton as it retains moisture. Opt for synthetic fabric or merino wool, and change your socks as soon as they get wet. If you can, add sock liners as well. These wick moisture away into your hiking socks so your feet can stay dry and blister-free. But should you be unlucky and get blisters during your outing, do treat them immediately. Cover them using tape, Moleskin or a blister bandage, avoid bursting them if possible, and put your socks back on.
Read all about sustainable merino wool in our article.
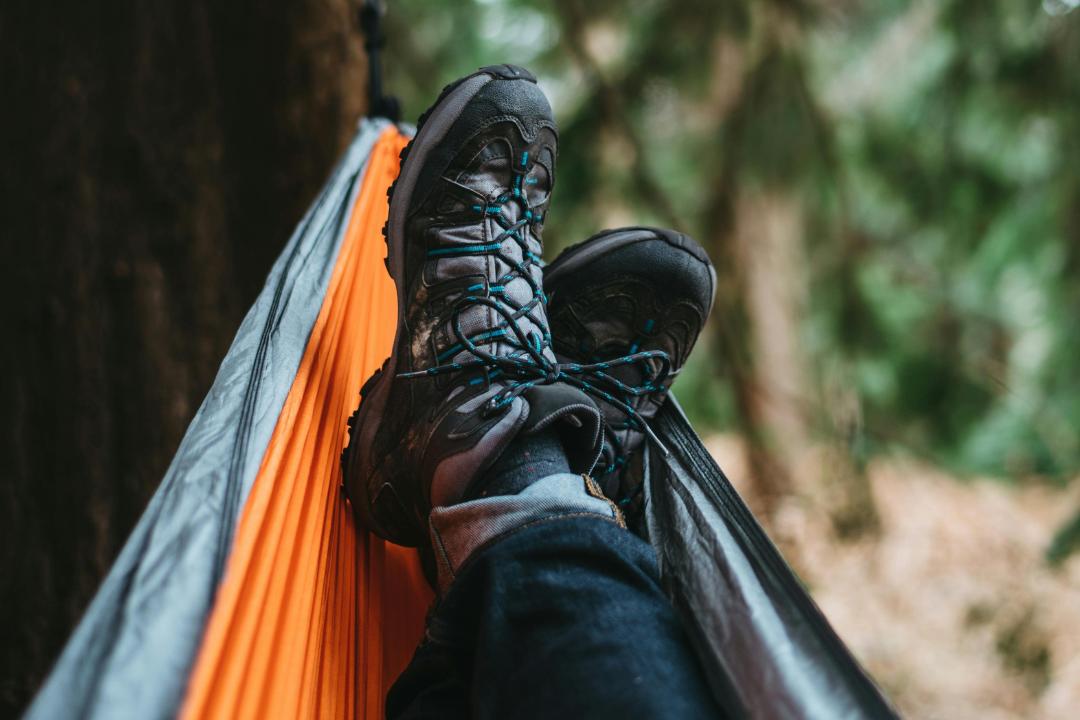
Now that you know how to break in your hiking boots, you’re ready for endless days of outdoor exploration. Just don’t forget to slip extra socks and blister bandages into your backpack for a carefree adventure.
Share

